What Is a Pocket Door?
Common uses:
- Bathrooms
- Bedrooms
- Closets
- Laundry rooms
- Small apartments
- Offices
How to Install a Pocket Door: Step-by-Step Guide
1. Gather the Tools & Materials
Before starting, collect the basic tools:
- Pocket door frame kit
- Door slab
- Stud finder
- Screwdriver / drill
- Level
- Screws
- Saw (if trimming is needed)
- Measuring tape
- Pencil
Tip: Buying a complete pocket door kit makes installation easier and faster.
2. Measure the Door Opening
You should measure:
- Door height
- Door width
- Wall thickness
Make sure the wall is thick enough to hold the pocket frame. Standard 2×4 walls work, but 2×6 walls provide better support.
3. Open the Wall
- Remove drywall
- Remove the studs where the pocket door frame will go
- Make sure the wall does not have plumbing or electrical lines
If there are utilities inside the wall, stop and get professional help.
4. Install the Pocket Door Frame
- Attach the header
- Secure the side rails
- Make sure everything is level
- Tighten all screws
A level frame ensures the door won’t rub, drag, or get stuck.
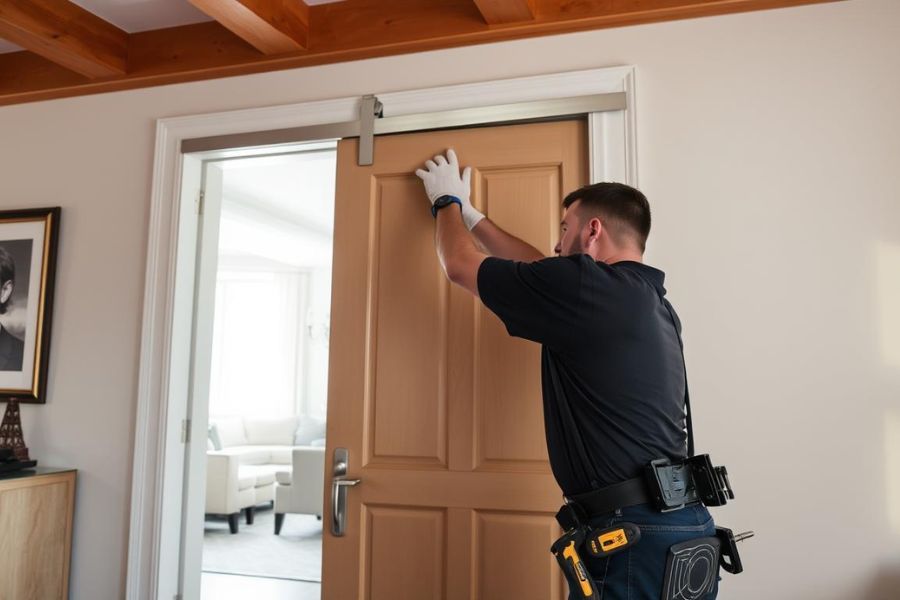
5. Install the Sliding Track
- Screw the track into the header
- Check that it is perfectly straight
- Attach the rollers and hangers
Smooth operation depends on perfect alignment.
6. Hang the Door
- Lift the door
- Hook it onto the rollers
- Adjust height and alignment
Slide it back and forth to make sure it moves without resistance.
7. Install Door Guides & Jambs
At the bottom of the door, add floor guides to keep it straight.
- Install the guides
- Add the trim or jambs around the opening
- Reinstall drywall on the pocket side
Your pocket door structure is now complete.
8. Add the Door Hardware
Finally, install the handle or pocket door lock.
Common hardware includes:
- Passage pull
- Privacy lock
- Edge pull
Choose hardware made specifically for pocket doors.
How Long Does It Take to Install a Pocket Door?
- DIY installation: 4–8 hours
- Professional installation: 1–3 hours
If your wall needs major changes, it may take longer.